WindRider
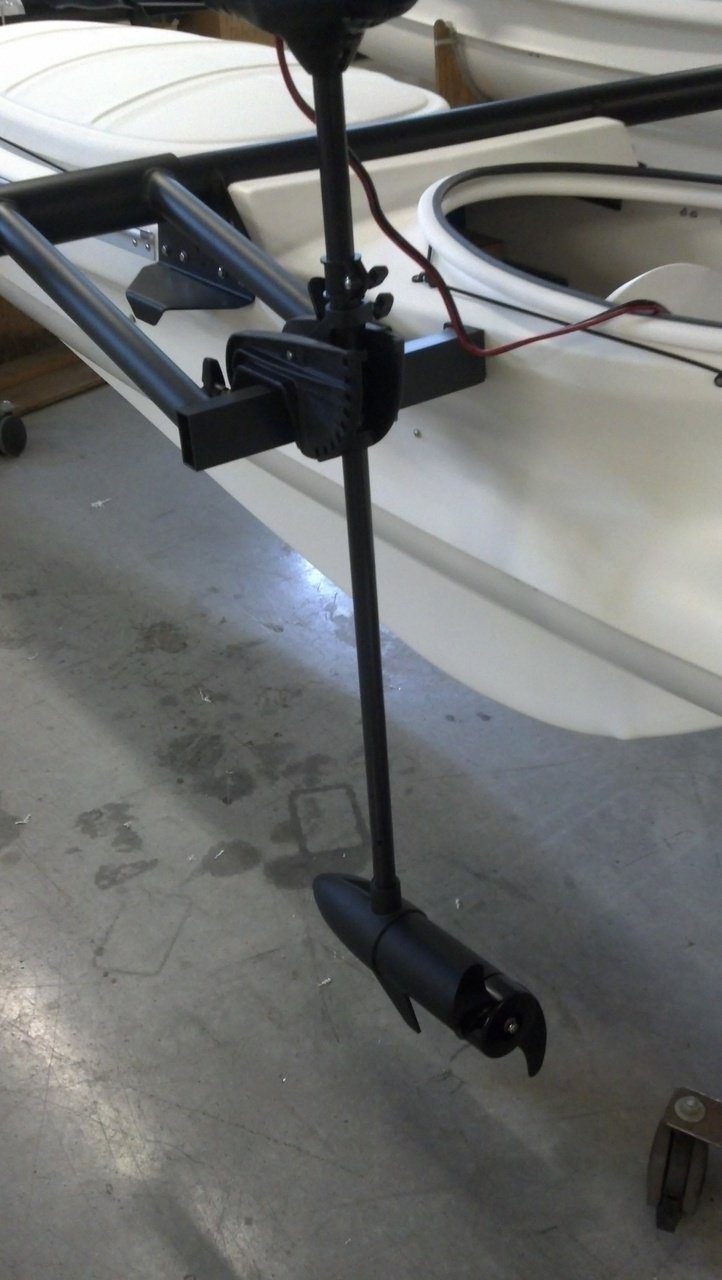
WindRider WR17 Motor Mount Assembly
WindRider WR17 Motor Mount Assembly
Couldn't load pickup availability
The WR17 Motor Mount Assembly includes the Motor Mount, 2 peices of black tape (used to line the claw tube), 2 foam squares (to protect the mount from the motor), and the hull attachment hardware. (2 - .25"x20 hex bolts, 2 -.25"x20 nylon locking nuts, 2 - 1 1/4" fender washers and 2 - nylon washers)
Please note that the motor mount is designed to be mounted on the rear port crossbeam. However it can be mounted on the starboard side as well.
Installing the Motor Mount includes drilling two small holes in the hull next to the captains cockpit.
*Please Note The WindRider 17 Motor Mount is now available in black anodized finish only.
INSTRUCTIONS FOR INSTALLING MOTOR MOUNT
The new motor mounts go on the left aka.
1. Remove the port ama from the main hull.
2. Fit the round claw part of the motor mount onto the crossbeam by swinging it down and a little forward so the opening in the claw slides past the jib cleat mount bracket.
3. The claw should fit snugly onto the crossbeam. If necessary, moisten the crossbeam and claw with soapy water so it slips on easily.
4. Raise the motor mount transom so the bolting pad is next to the rear cockpit.
5. Mark the spot for drilling the hull with a marking pen. Drill the holes in the hull and install bolts, washers, and nuts.
Not designed for over 4 hp.
Share

